Showing posts with label making. Show all posts

Wednesday, 24 April 2013

Make Your Own Letter Rack


If you're one of the one hundred and eighty lovely people to have joined #PostCircle, you're hopefully getting a lot more happy post than you used to. But what do you do with your post once you've opened and admired it? How do you keep track of the people you need to reply to, and if, like me, you don't live alone, where does new post wait for you until you have time to sit down and enjoy a good read? 

Enter your very own handmade letter rack!


You will need: 


  • 2 sheets 1/8" x 4" x 36" balsa wood - available from craft shops (I went to Hobbycraft)
  • Wooden letters (optional) - I got mine from the kiddies' craft section in Hobbycraft for £1 for a pack of 20
  • A glue gun or wood glue
  • A craft knife and cutting mat
  • Paint in your chosen colour - I used white gloss spray paint for easy, even coverage but this is entirely up to you. I find spray paint is less likely to warp your wood when wet. 
  • A pencil and ruler - use a metal ruler for cutting if you have one
  • Decorations of your choice - washi tape seemed like a fun idea for my letter rack

1. Measure and cut five pieces of wood, 22cm long. Your wood is already about 10cm wide, and we're working with this width right the way through, so no need to measure that. 


2. Cut two squares, 10 x 10 cm. These will be your sides. Take one of your squares and make a pencil mark one cm in from the left, and 4cm down from the top, on the right, as shown below. Draw a line between these two marks, then cut. Repeat with the other side in exactly the same way. 


3. Hooray, that's all your pieces cut out! Now we just have to give them a trim so they fit together. Set aside two of the lengths you cut out. They will make the back wall and the base of your rack. Take the other three and one of your side pieces. Line up the bottom edge of one of your lengths with the bottom edge of the side piece, where you would like the first slot of your rack to be (my first is 3.5cm from the back of the side piece). Where the length sticks out from the top of the side piece, make a pencil mark. (See image below). We're trimming the slots of your rack to line them up with the sloping diagonal of the sides. 

Draw a straight line across the top of the length at the height of the pencil mark, and trim. Repeat for one of the other lengths, again around 3-3.5cm apart from the last slot. The last length will be your front, so that will line up with the height of the front of the side piece. 


4. Next it's time to glue the letters onto the front panel! I used my trusty glue gun for this bit. 


5. Paint time! Cover your work surface in newspaper, and work outside if you're using spray paint. Give all your pieces an even coat of paint, on both sides, repeating if necessary. Try not to let your wood get too wet - it's better to do more thin coats - so you don't warp the wood. Go and have a cuppa and a cheeky biscuit while that lot dries. The paint has now strengthened the wood so your rack will be nice and sturdy. 


6. All we have to do now is assemble the letter rack! You can use a glue gun or wood glue for this bit. I used a combination of both because a glue gun got me strong, fast results, and the wood glue gave me more time on those joins that needed a bit of adjustment. Glue the front on first, placing the front piece on top of the base, not in front of it. The same goes for the back. If you need to do a little trimming at this point don't worry, we're going to give everything a last spray of paint to clean up any raw edges. 


Construct the actual 'box' first to give it structure, then glue in your slots last. Once you're happy and the glue is dry, give everything a last coat of paint. I chose to spray my finished rack with a coat of clear varnish too, but that's up to you, depending on the type of paint you used. 

7. The fun bit! Decorate your rack however you like. I used washi tape and printed some labels for the slots. You could paint flowers onto yours, or add stickers or stamps, whatever you wish!


I've chosen to keep my rack on my desk, but it's also lightweight enough to use sticky foam pads to attach it to a wall, bookcase or door.

Another way I'm displaying my post is with a baker's twine washing line in my workspace!


Have a well organised Wednesday,


Monday, 28 January 2013

A Toadstool Pincushion

There is something rather lovely about wooden cotton reels...


...But what do you do with the empty ones?


Knowing they must be of some sort of crafty use, I had a go at fashioning a thrifty felty pincushion with some scraps...


It's a little bit wonky but perfectly functional. I normally keep my pins in a teacup during a sewing project, but recently kept finding that I would jab my fingers every time I reached in there for one. Now I'm keeping needles and cotton reels in a teacup and making use of a pincushion for pins. You know, like normal people do.


I have a bit of a thing for toadstools at the moment. When I was small I had a book of children's short stories by Ruth Ainsworth, and in one a boy made a toad house in a hollow at the foot of a tree in his garden, including damp moss to keep visiting toads cool, and a toadstool for them to sit on. Being exactly the sort of child who would do that sort of thing myself the story stuck in my mind, and for some reason I've thought of it a lot lately.


What do you use cotton reels for?


Friday, 4 January 2013

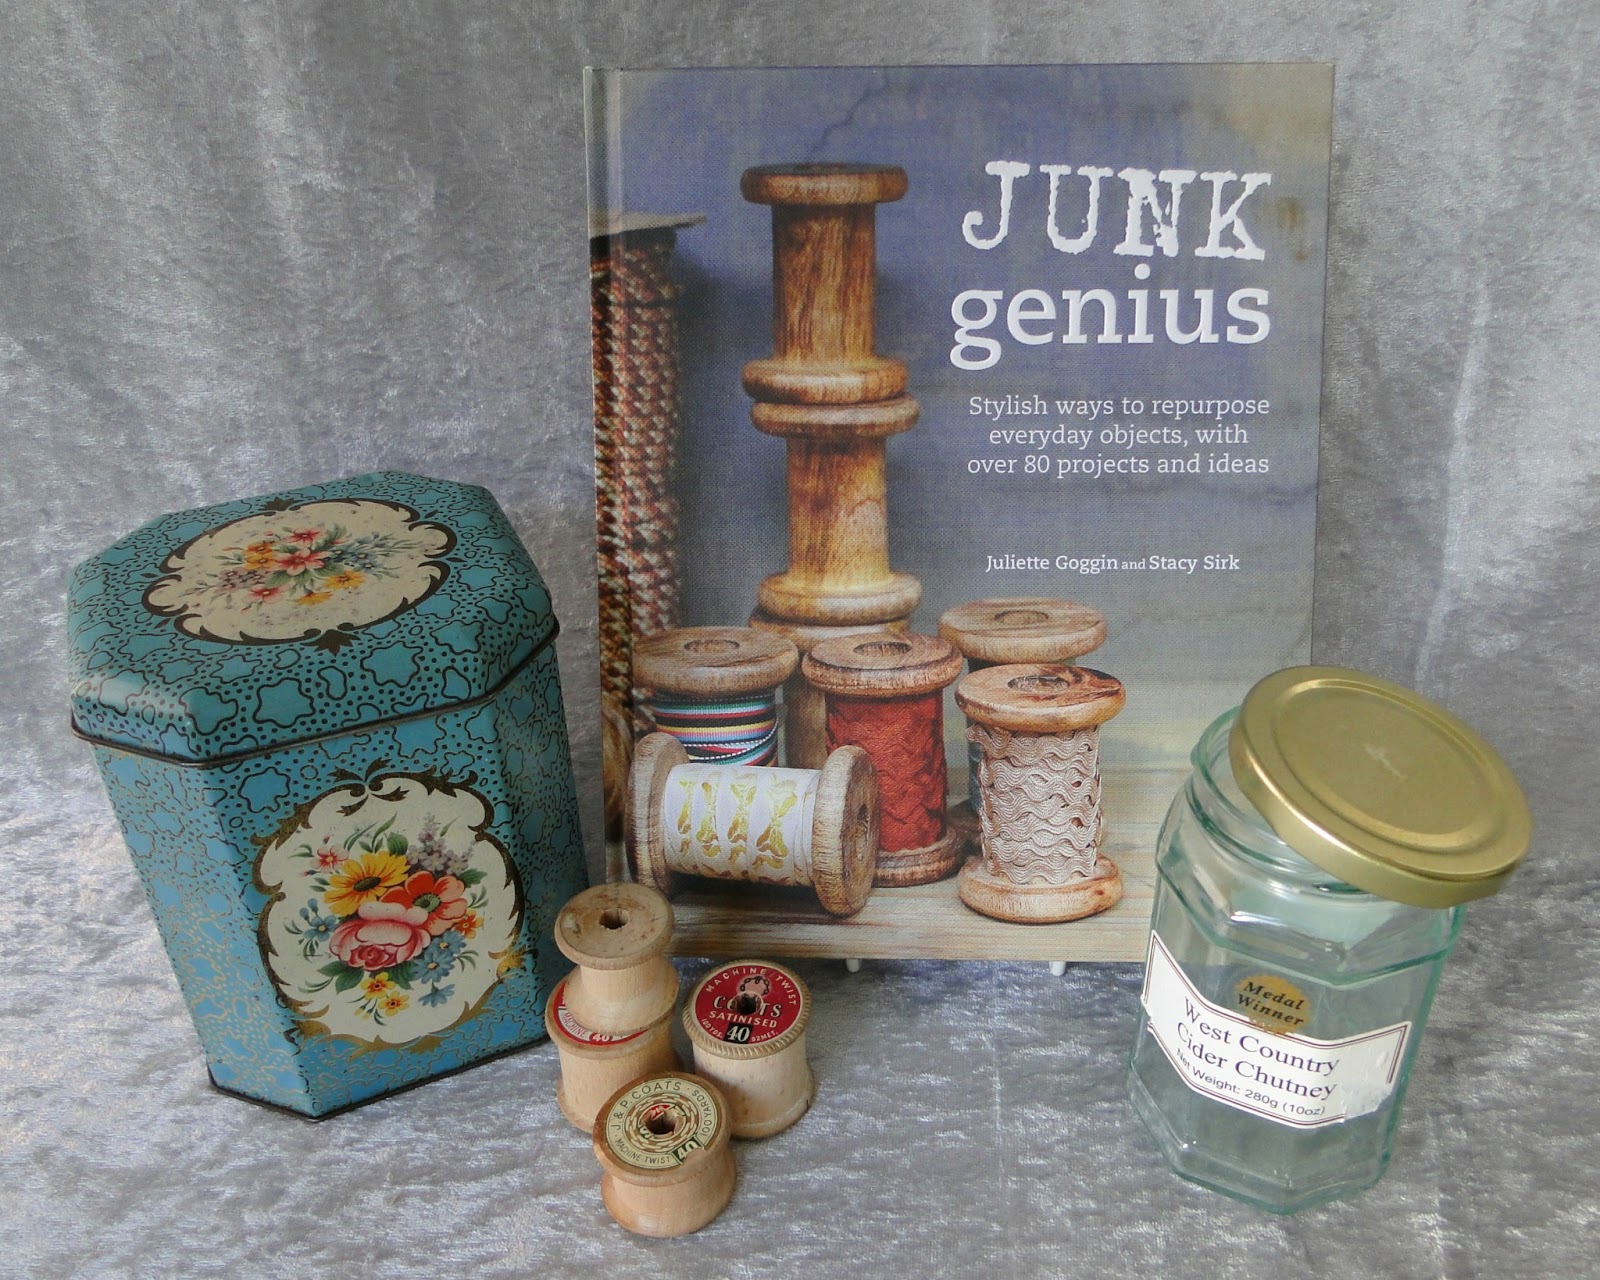
Junk Genius: A Book Review


Junk Genius: Stylish Ways to Repurpose Everyday Objects, with Over 80 Projects and Ideas, by Juliette Goggin and Stacy Sirk. 

I stumbled upon this upcycling craft book on Amazon while adding others to my wishlist. I hadn't heard of it before and wondered why, only to realise my discovery must have been an early one, it only having been published in September, as it's popped up in several craft magazines since! So when a Waterstones voucher came my way, I knew exactly what I wanted to spend it on.


You may recognise Juliette Goggin's name as she's a regular on the channel 4 tv programme Super Scrimpers, in which you'll find her patiently showing young sorts how to makeover their clothes and home furnishings. Her career includes designing her own gift and home collection, and sourcing products for names such as Cath Kidston and French Connection. 

Stacy Sirk works in product development alongside some huge brands, such as Urban Outfitters, Macy's and Nike. The pair wrote this book from opposite sides of the pond, reminding me of another very successful craft book of 2012! Terminology throughout the book is primarily American with the British alternative term in brackets, and this pleased me, because we all want to feel a book is written 'for us'. 


 The first section of this rather sensual (yes, I said sensual) hardback is dedicated to 'finding junk'. This reminded me of Sarah Moore's Homemade Gifts Vintage Style and I always find it handy to get an author's viewpoint on the best ways to find lovely treasures to upcycle. I get really excited about thrifting, so a section dedicated to this filled me with enthusiasm. There then follows a list of '40 Common Items' - perfect if you're like me and carry round a shopping list of the things you're after, only to become overwhelmed.

The projects themselves are divided into sections, Jewelry and Decoration, Fabric and Trims, Paper and Card, China and Wood, Glass and Mirror, Metal and Wire and Furniture and Furnishings.


So the all important question here, is what did I think of the content - the projects themselves? Well there are certainly some projects where the idea is quite well worn; decorated decanters, for example, covered notebooks and flower brooches. BUT I think that depends on how much a seasoned upcycling/craft book reader you are, and there were many, many more projects that were new ideas to me and got me adding them to my 'to try' list. The tweed laptop bag (recently in Mollie Makes), thimble pendants, bunting made from ties, and a rather beautiful medicine cabinet all gave me 'aha' moments. If you have never tried upcycling before or are new to the vintage-infused lifestyle, you'll find plenty of ideas, presented in a fresh way. 

If you're already a crafter, I'd say many of the projects don't need a how-to, simply the images will be enough to spark the idea and get you thinking of new ways to use thrifted finds. However, if you're new to this sort of thing, or wouldn't know, like me, how to make a laptop bag, you'll find the instructions full and clear. 


The images throughout the book are beautiful, adding value as an idea generator and source of inspiration as much as anything. This book's about introducing you to a new lifestyle, a new way of thinking, as well as providing ideas for a quick gift for Aunt Mildred. I really like the fact that the projects aren't overly feminine. Although many will inevitably appeal only to women, if you're looking for a gift idea for a chap you'll find plenty, and male readers can be inspired too. 

All in all I was really pleased with this book. A brand new hardback isn't something I would have bought without a voucher, so I most certainly would have returned it if it couldn't bring something to my life that others in my collection can't. I'll be using it for inspiration and as a resource for fresh ideas, and think it would be a real revelation to those who are new to the idea of making new from old, especially on a budget. 


It's difficult not to compare it to Granny Chic as there are a number of similarities other than the geographical space between the authors. A curtain embellished with doilies, and a lace-covered lampshade, for example. This is either unfortunate timing - no one's fault, after all - or a bonus, as it just shows how popular vintage and upcycling are right now. For me it was a good thing, and as I don't see vintage and making new from old as a passing craze in my own life, for me, this is just more of the stuff I love to read about. To be fair, this book was published [just] first!


Junk Genius left me with a warm, homely feeling, a renewed excitement about getting out there and tracking down finds - especially little ones to make into quirky jewellery - and lots of new ideas. It would also make that most pointless and hated of things... an 'ideal coffee table book'. Gah. Pretentious, moi? My copy has certainly being hanging around my living room over the festive period, being picked up and passed around. Just what these sorts of books are perfect for. 

Have you stumbled across any cracking craft/vintage books lately? 


Friday, 21 December 2012

Life Lately


Like many others, I've had a rather hectic few weeks and Bea and I are fair exhausted! Here are a few snaps of life in my world lately.

Walks with Bea always take priority, so we've been to visit Thomas the swan...


And took time to notice the small things...


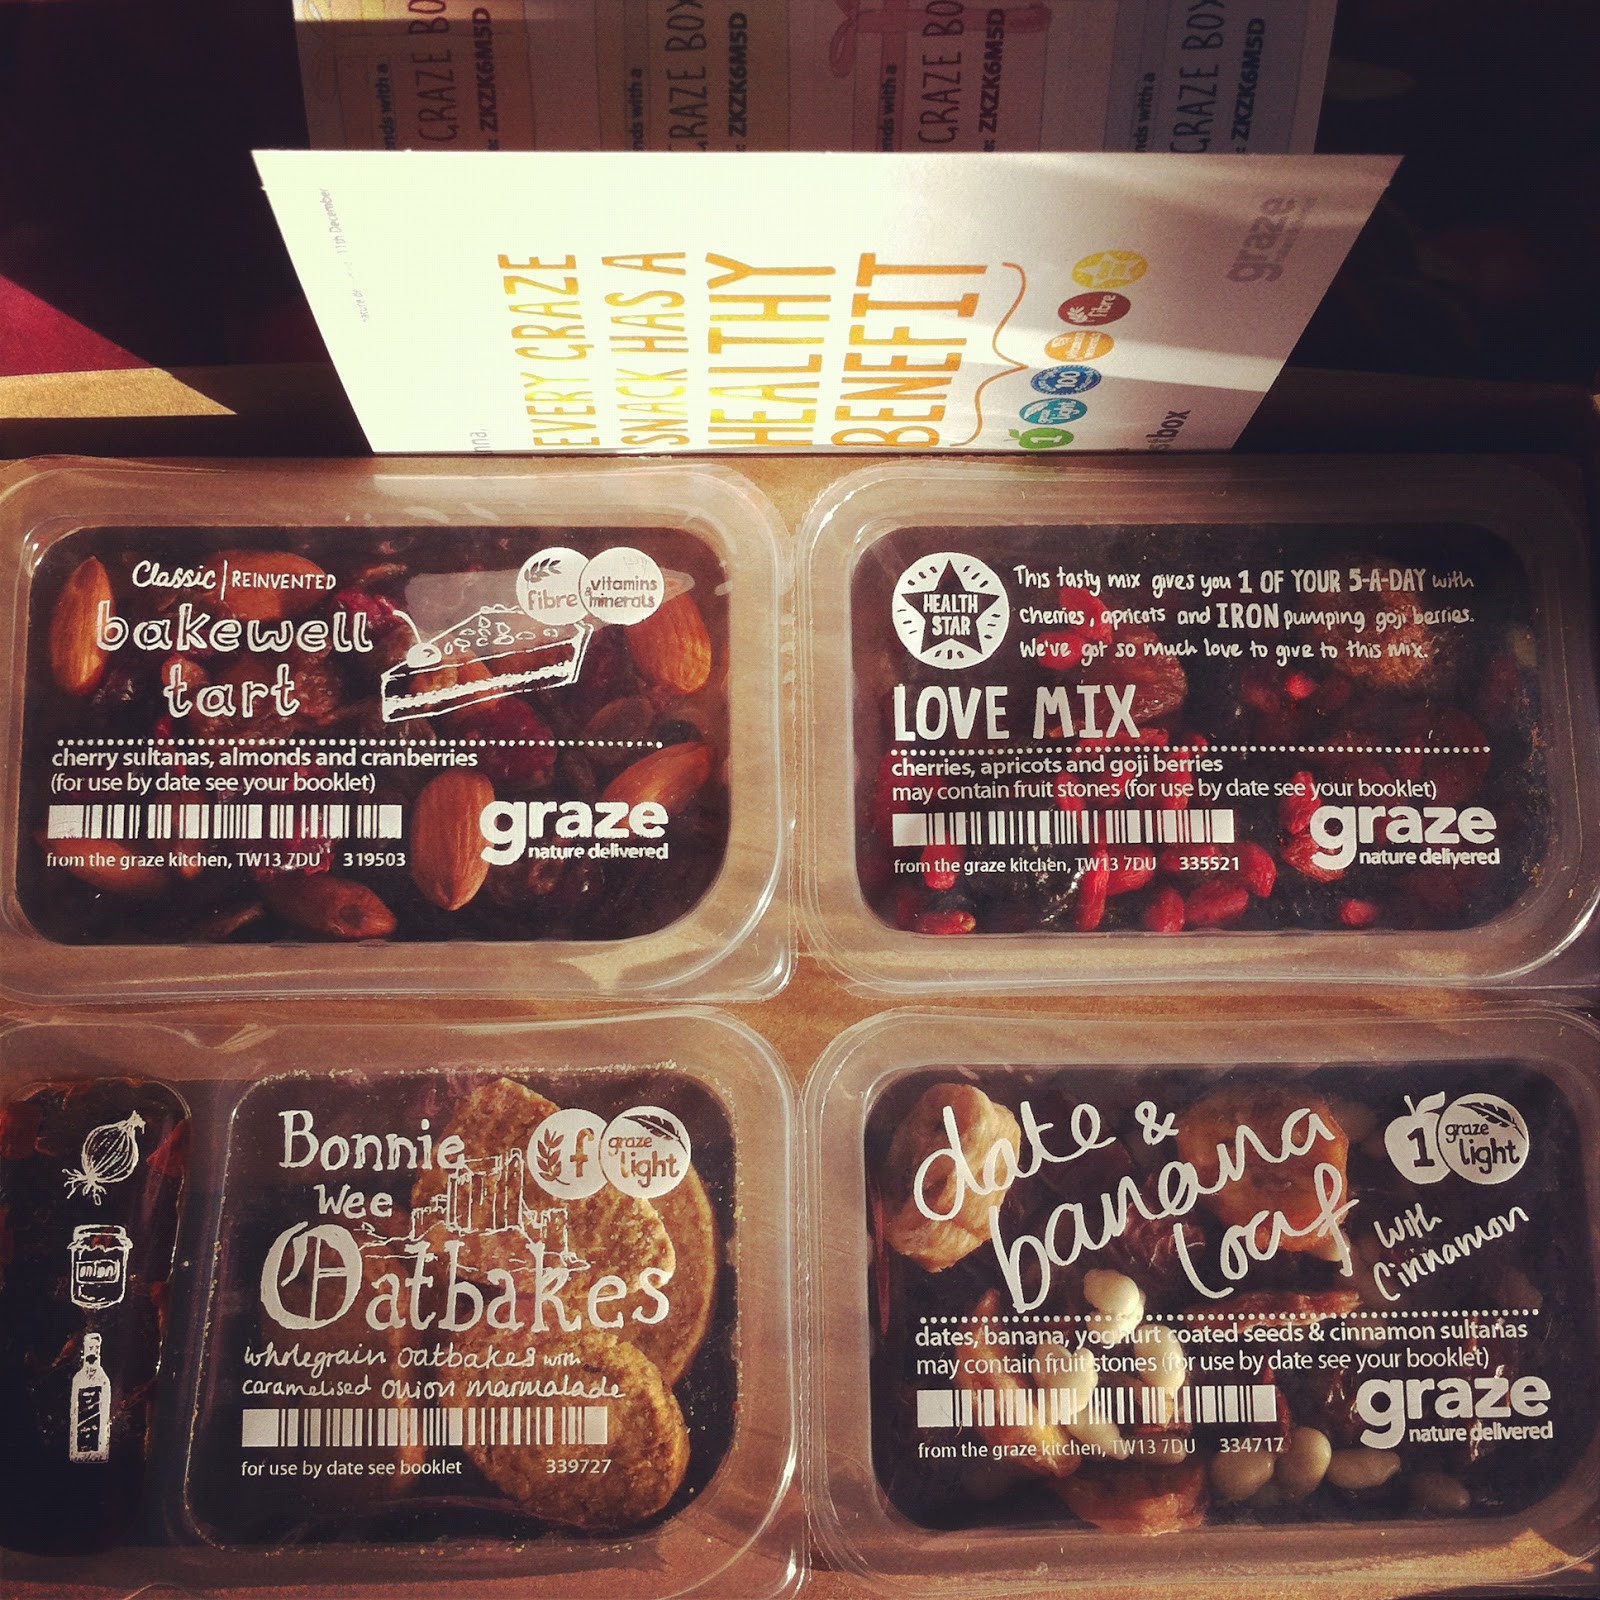
I tried a Graze box and was really impressed! The entire service is friendly and well organised, and I've tried some yummy new foods in an attempt to boost my energy levels and stay well through the winter months...


...Erm, except then I remembered I hadn't had a mince pie in two years, so I made a little exception. (What? It has fruit in it!)


My legs turned yellow! I've been loving coloured tights with warn knits lately.


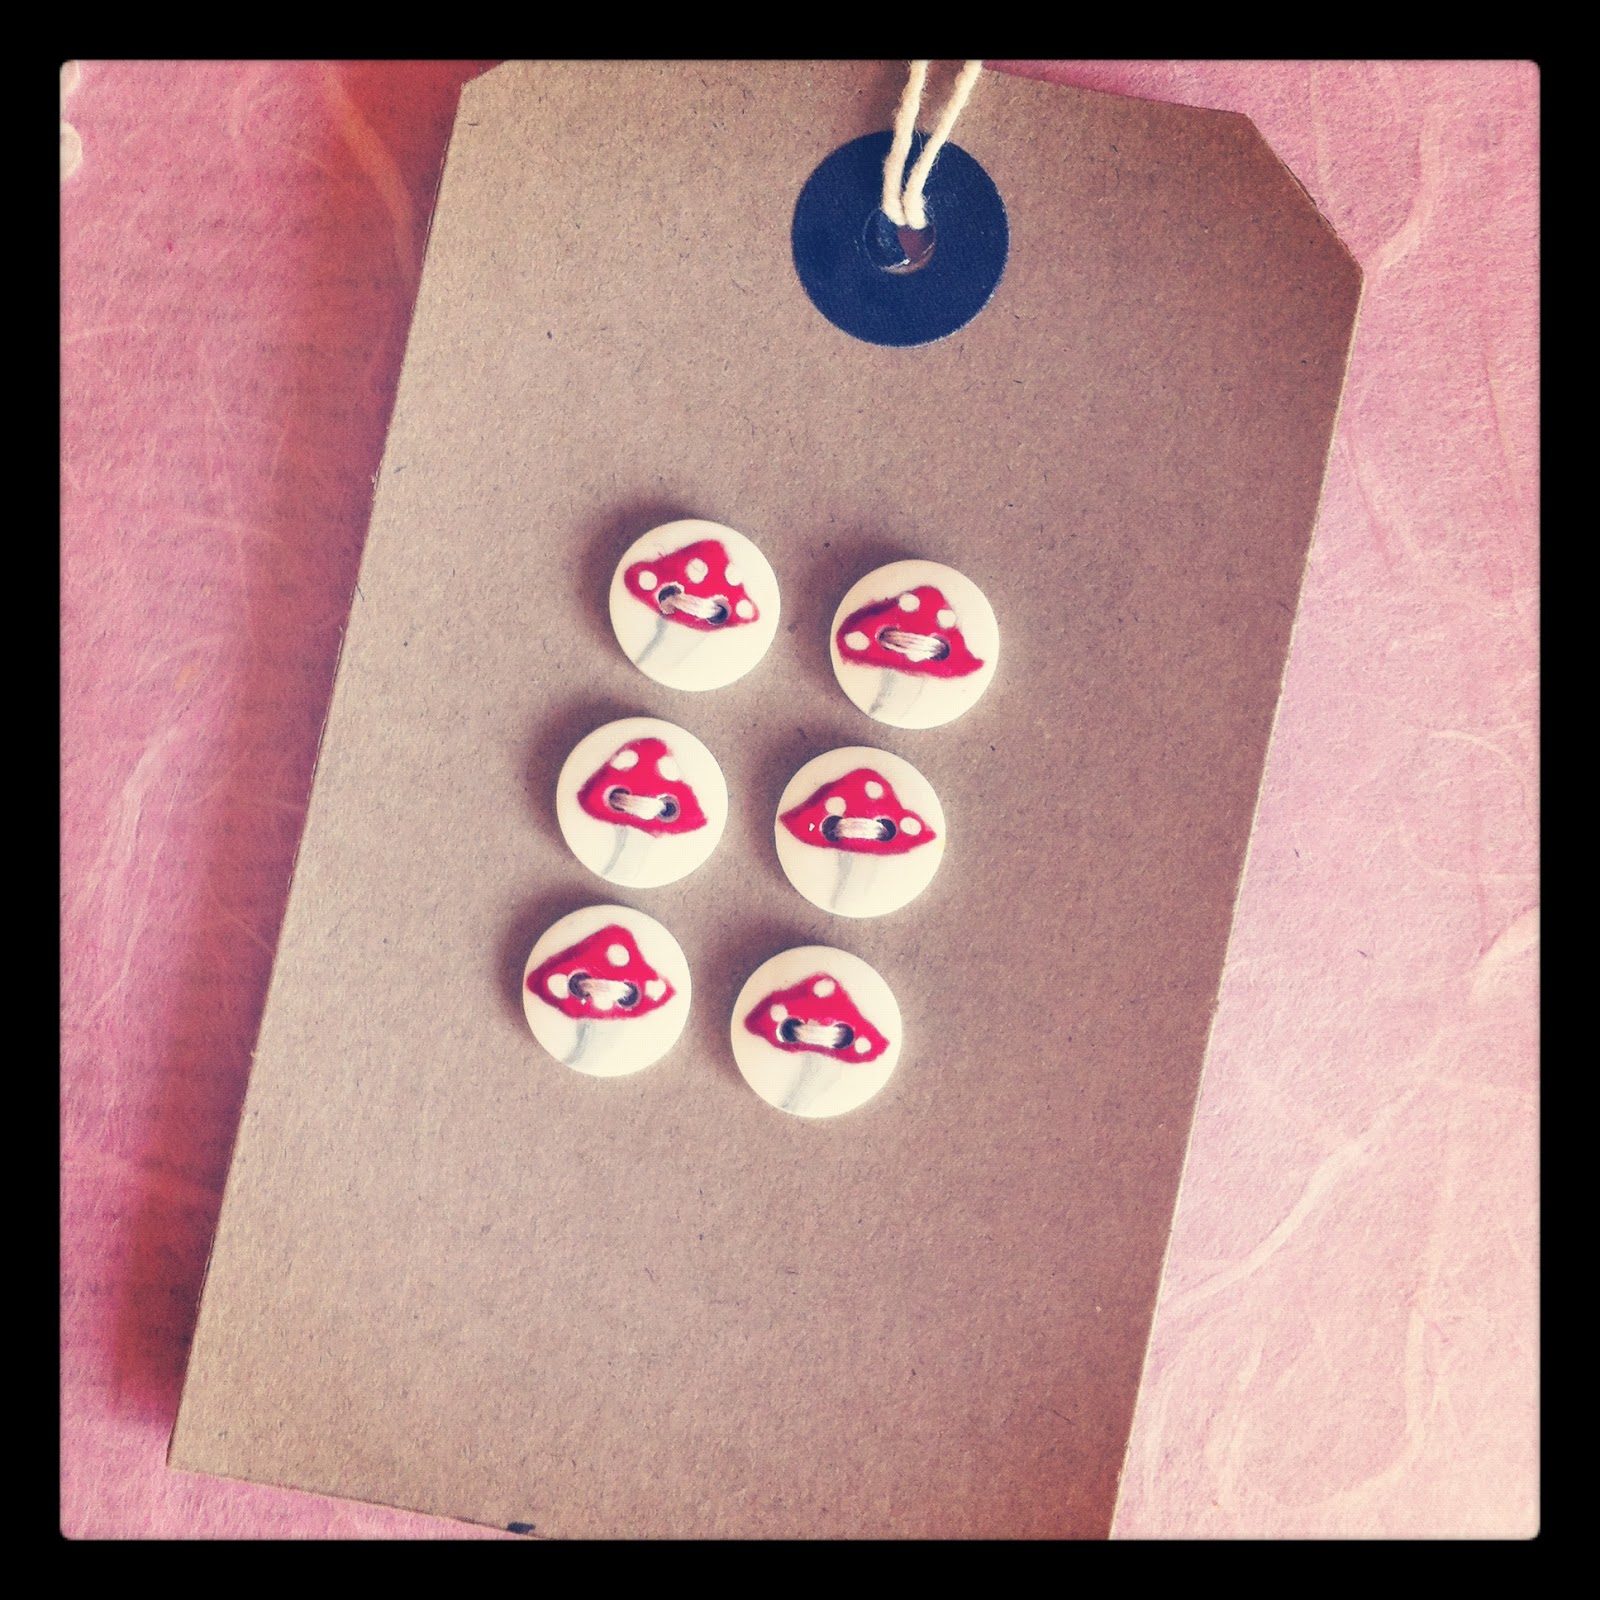
I've been very busy making custom button orders, special buttons for friends, and new designs ready for a new year. Very excited.


I've also been making Christmas presents (can't show you yet!) but have found a little time for some other quick projects too. A tree decoration for Beatrix...


And this... thing...


I got Trevor the horse ready for Christmas in my other job...


I found these flashbacks in a charity shop...


And THIS turned up in my life! Isn't it beautiful?! It's huge!


I'm very much looking forward to finishing work for Christmas and curling up with this...


And this...


Are you ready for Christmas yet?


Monday, 3 December 2012

How to Be a Thrifty Crafter, Part 2


Hello my dear crafty chums! Today is the second in my thrifty crafting feature (part one here). 

I was in my early teens (stop me if you've heard this story before - this is going somewhere!) when I first stumbled across the idea of owning a doll's house as part of a hobby, rather than a child's toy. I had grown out of playing with my own beloved house years before, but as my grandad had made it for me and it was very special I didn't feel I could move it on to a new home, so it simply sat in the spare bedroom, ignored.

One day I was on a visit to Rochester with my family when I spotted a shop selling doll's house miniatures. I was instantly captivated by the idea of grown ups having doll's houses, and collecting furniture for them. I could create my dream house, or even my dream world, from any era - and I already had the house! 

There was just one problem. I could see from a quick glance in the shop's window and then a Dolls House Emporium catalogue that I had fallen in love with a hobby which cost a lot of money. I'm talking hundreds. Thousands. It's a popular hobby for the middle and upper class retired, and no wonder. I was a teenager with a minuscule income. I quickly realised I was going to have to use my imagination and a lot of creativity to turn my doll's house into the vision I held in my head. 

That Christmas, I received just the help I was looking for, in the form of these two books:


Andrea Barham and Patricia King opened my eyes to the world of making your own doll's house miniatures out of things you have hanging around your house. Perfect! Since then I have made all sort of craft projects - not just miniatures - simply by looking at household objects from a different perspective. I have added many items to my 'must have' crafting list, and I'm going to share this list with you... (yes, we finally made it to the end of my little story!)


The contents of my dressing table are made from household finds. Bits of lace, an old keychain, a candle made from a birthday cake candle and a button, and a perfume bottle made from beads. 


1. Head for your jewellery box. We all have old costume jewellery which is now out of date or broken. Grab these items like Gollum and clutch them close to your chest. They are incredibly useful for all sort of crafting projects. Next, any old Primark handbags, embellished shoes or belts. Cut the shiny bits and buckles off and add those to your pile. Old costume watch? Keep that too. Hurrah!


Just look what clever Patricia King made with an old pair of sunglasses. I'm tempted to wrap some old frames with washi tape and wear them when thinking up crafty plans...


2. We're on a roll! Head out to the garage or shed. Take a note of any semi-used pots of paint or cans of spray paint. Look out for wire, garden twine, lovely pebbles (perfect for painting!), varnish, metal washers, plywood and balsa wood. 

3. Think like a child. Remember junk modelling? Very handy when it comes to thinking about packaging. Never throw anything out without checking to see if there's anything useable on it. Cereal boxes provide useful cardboard, lipstick cylinders, toothpaste lids, metal wine bottle tops... the list goes on!


An old disposable razor and a toothpaste tube. 
Another of Patricia King's creations.


4. Now you've gone shopping in your home, it's time to shop from other people's! Once or twice a year I email friends and family, and ask them ever so nicely to have a clear out. I make it easy for them by giving them a list of things I'm looking for. The first time I did this I was in the sixth form, and hadn't told more than one or two close friends about my crafting hobby. They found my requests a little odd at first, understandably, but then they really got into the spirit of it and produced some brilliant finds, including a guitar plectrum (perfect for a spot of Tatty Devine-style jewellery making!), an old locket - which I made into a double photo frame for my doll's house, and some handy bits of driftwood! Since then I've handed this list out to work colleagues and family alike, and always find they're genuinely interested in hearing what I'm planning to make with it all. And as you never know what you're going to get your little gifts can inspire all sorts of new ideas. 


I have popped my full list of the items I ask/look for here, but first, a little word about storage. You'll need it. I only store small and medium items. There is no need to keep every cereal box that passes through your home - if you need cardboard for a project, you know it's in the cupboard. I am making my own Christmas crackers this year so have kept (and microwaved to get rid of germs) twelve loo role centres, but I don't keep the centre of every loo roll used in my house! You don't want to become like one of those poor hoarder folk off the telly... 

If you're collecting small items such as jewellery findings, I learnt early on that they need to be carefully stored and easily accessible. There's nothing more annoying than losing a precious hour of your Sunday afternoon to hunting for that teeny tiny cabochon. I use a box with lots of compartments, so I keep earrings, beads, brooches, chains, etc, in separate sections. 


I like this way of storing because I can easily take a look inside to remind myself of what I have in stock. 


I mentioned in my last post useful shops for art and craft materials. If you're struggling to find handy items for free, of course there's always car boot sales and charity shops. I've found loads of handy bits of bobs from those. It's also been known for me to buy cheap jewellery from Primark, only to dismantle it an hour later. They often have sale racks full of costume jewellery - score! 


The jewel on my mini Jubilee hat was a Primark pendant, bought for £1.50. It's supposed to look like Kate's engagement ring. 


Some handy books and blogs if you fancy having a bash at crafting with household items:


Inspiring blogs:


Do you make things out of household finds? I'd love to hear about your projects!

Have a collectible Monday,


P.S: If you have borrowers residing in your home, please treat them kindly and at least leave some useful items for them to borrow. Bea seems to think we have some here, as she thoroughly sniffs around all the skirting boards every morning.
PPS: New buttons will be in the Etsy shop before the end of the week :)